This is the first in a tutorial series about developing native Android and iOS apps using Xamarin and Blazor. This lesson will help you set up your development environment.
Install Required Workloads
First, make sure you have the required workloads installed. Fire up Visual Studio Installer and click Modify next to the instance of Visual Studio you will be using. In addition to the .NET Core SDK, you will need two additional workloads installed.
First, select the ASP.NET and web development workload under the Web & Cloud section. If you have been developing Blazor applications for web, you may already have this workload installed.
Second, select the Mobile Development with .NET workload under the Desktop & Mobile section. This will allow you to begin working with Xamarin.Forms.

Install Template and Create First Project
Next, install the latest version of the MobileBlazorBindings Template package. This will enable you to bootstrap a project for creating native mobile apps using C# and .NET using the Blazor programming model. Open a terminal window and install the latest version of Microsoft.MobileBlazorBindings.Templates. For example:
dotnet new -i Microsoft.MobileBlazorBindings.Templates::0.3.26-preview
You are ready to create your first mobile Blazor bindings project. In your terminal window, navigate to the directory where you would like your project to appear and create a project from this new template.
dotnet new mobileblazorbindings -o MobileBlazorTest
Launch Project in Visual Studio
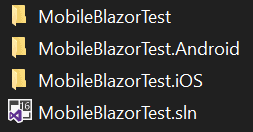
The above command will create a solution folder named MobileBlazorTest with three projects inside. Open MobileBlazorTest.sln in Visual Studio.
When you first launch your solution in Visual Studio, you will be asked to agree to the Android SDK terms of use if you have never done so before.
In the Solution Explorer, you will see the three projects created by the template. Your UI and logic work will be done in the MobileBlazorTest project. The corresponding .iOS and .Android projects are basically backing projects that you will use to test your application in the respective device emulators and to add any device-specific resources. Note, you will need a Mac to run the project in the iOS emulator.
Running your application
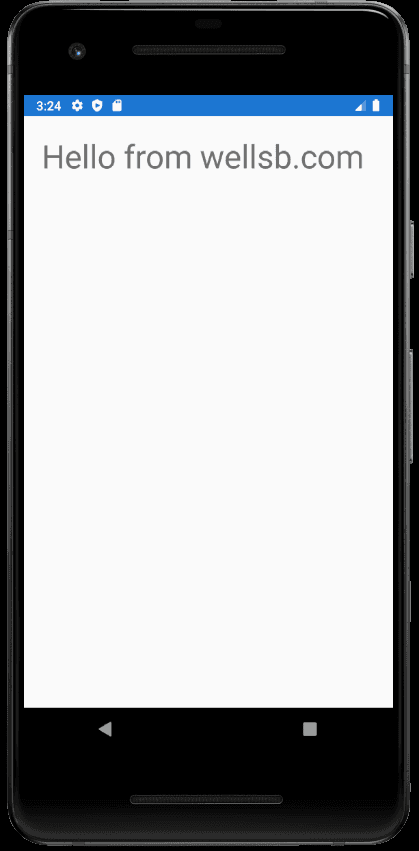
To test your application, select the MobileBlazorTest.Android project and start the debugger using a currently installed Android emulator or by selecting Android Emulator if you do not already have one configured.

If you do not have an Android device emulator installed, you will be guided through the process of downloading and installing one with the Android Device Manager.

In the above screenshot, you can see the Android Device Manager preparing to install an emulator to represent a Google Pixel 2 running on Pie 9.0 - API 28. Once you have a device emulator configured, you can launch your project against it to see your Xamarin/Blazor hybrid app in the emulator.
If you aren't used to working with emulators, the emulator will take some time to start (just like your phone would), then Visual Studio will push your application to the emulator and install the package. Finally, your application will launch in the emulator.
The Bottom Line
In this tutorial, you installed the required packages and configured your development environment to begin creating and debugging Xamarin mobile apps using mobile Blazor bindings. In subsequent tutorials, we will get familiar with the project structure, begin experimenting with different UI components, and write services that we can inject into our mobile application Blazor components.
Don't stop learning!
There is so much to discover about C#. That's why I am making my favorite tips and tricks available for free. Enter your email address below to become a better .NET developer.
Did you know?

Our beautiful, multi-column C# reference guides contain more than 150 tips and examples to make it even easier to write better code.
Get your cheat sheets