In this tutorial, you will create your first C# chatbot app using .NET Core and the the Microsoft Bot Framework.
Getting Started
Before you can begin developing bots in Visual Studio, you must first download and install the BotBuilder templates from the Visual Studio Marketplace. After you run BotBuilderVSIXV4.vsix, you will be able to create new Microsoft Bot projects in Visual Studio.
To test your bot locally, download and install the Bot Framework Emulator.
Create Bot Project
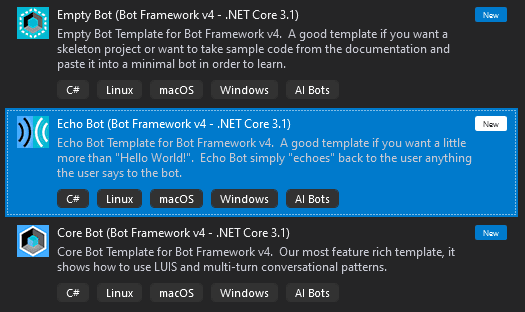
For your first project, we will create a simple Echo Bot. This bot will receive input from the user and echo the same string as an output. It is a good place to start, because you will learn how to send and receive messages from your chatbot application. In Visual Studio, create a new project and select Echo Bot (.NET Core 3.1).
The scaffolded project will include a Bots folder and a Controllers folder. The BotController class is an ASP.NET controller endpoint that will handle GET and POST requests to your bot.
The EchoBot class is where you will override methods that will allow your bot to respond to various events. In the default project, for example, the bot will perform some function when a message is received (OnMessageActivityAsync) and when a user joins a conversation with a bot (OnMembersAddedAsync).
protected override async Task OnMessageActivityAsync(ITurnContext<IMessageActivity> turnContext, CancellationToken cancellationToken)
{
    var replyText = $"Echo: {turnContext.Activity.Text}";
    await turnContext.SendActivityAsync(MessageFactory.Text(replyText, replyText), cancellationToken);
}

protected override async Task OnMembersAddedAsync(IList<ChannelAccount> membersAdded, ITurnContext<IConversationUpdateActivity> turnContext, CancellationToken cancellationToken)
{
    var welcomeText = "Hello and welcome!";
    foreach (var member in membersAdded)
    {
        if (member.Id != turnContext.Activity.Recipient.Id)
        {
            await turnContext.SendActivityAsync(MessageFactory.Text(welcomeText, welcomeText), cancellationToken);
        }
    }
}
Testing Bot Project
To test your Echo Bot, start the debugger in Visual Studio. When your bot is running, a page should open in your browser that gives details about the location of your bot.
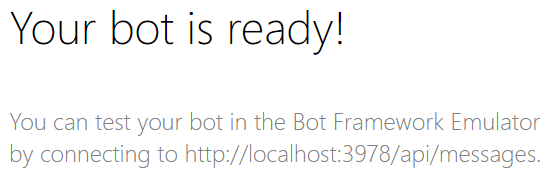
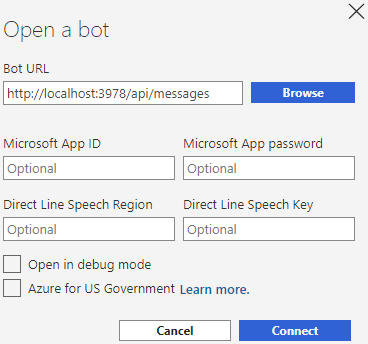
In this case, the bot's controller endpoint is http://localhost:3978/api/messages. Copy that URL and open the Bot Emulator you installed earlier. Click Open Bot, paste your bot's URL, and Connect.
Now, have fun with your bot. Anything you enter, the bot will repeat. Remember, the welcome text for your chatbot is set in the OnMembersAddedAsync() method of EchoBot.cs and the bot's response behavior is set in OnMessageActivityAsync().
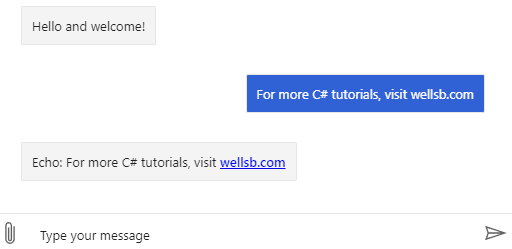
The user's message is passed through a TurnContext interface. More specifically, you can access components of the user's input through the TurnContext Activity. For example, the turnContext.Activity.Text property exposes the contents of the user's message. Remember, the best way to learn is to play around with the code and see what changes!
The Bottom Line
In this tutorial, you created your first chatbot using C# and the Microsoft Bot Framework. You learned how to receive a message from a user and how to send a response back to a user. You also learned how to configure a welcome message when a user connects to the bot. This example was a trivial example where the bot simply echoed any input provided by the user. In future tutorials, you will learn how to incorporate rich card design elements and interact with a user in a meaningful way.
Did you know?

Our beautiful, multi-column C# reference guides contain more than 150 tips and examples to make it even easier to write better code.
Get your cheat sheets