If you are starting an online business, eventually you will come across the need to collect payment information from your users. It is simple to do this using Blazor and the Stripe API, but if you would rather not worry about the hassle of maintaining PCI compliance, there is a simple solution that relies on Stripe.js and JSInterop.
Why Stripe.js?
In a previous tutorial, we demonstrated how you could use Blazor to collect a user's credit card information. However, as was mentioned in that tutorial's disclaimer, that solution required credit card information to pass through your server, something that should be taken seriously as it risks exposes you to all sorts of potential liabilities.
The preferred method for collecting credit card information is to use Stripe's browser-side library, Stripe.js. This solution allows the secure transfer of personal information from the client directly to Stripe's servers. Here's how to get started.
What you will need
First, this tutorial assumes you already have a Stripe account set up with products and prices added. You can do all this from the Stripe dashboard or by using Stripe CLI.
Then, you will need to install the Stripe.net Nuget package.
Install-Package Stripe.net
Configure it with your API key found in the Stripe developer dashboard. Add the following line to the Configure() method of your Blazor project's Startup.cs file.
StripeConfiguration.ApiKey = Configuration.GetSection("Stripe")["ApiKey"];
Next, your project must reference Stripe.js script from the Stripe servers. If you are using server-side Blazor, add the following to your projects Pages/_Host.cshtml file.
<script src="https://js.stripe.com/v3/" defer></script>
Configure JavaScript
You're probably using Blazor because you'd rather avoid JavaScript, but there is one quick function you'll have to write. I'll include it in a scripts.js file. If you are using server-side Blazor, reference it in Pages/_Host.cshtml.
<script src="https://js.stripe.com/v3/" defer></script>
<script src="js/scripts.js" defer></script>
Create the file at wwwroot/js/scripts.js and add a single function called redirectToCheckout.
redirectToCheckout = function (sessionId) {
    var stripe = Stripe('{{publishableKey}}');
    stripe.redirectToCheckout({
        sessionId: sessionId
    });
};
The only thing you need to change is to replace the {{publishableKey}} placeholder with your own publishable API key from the Stripe dashboard. With this function, we can pass a string representing a Stripe Checkout session ID to this from our .NET code. Using this identifier, it will execute the redirectToCheckout function from Stripe.js.
Create Blazor Page
For this tutorial, create a new Razor Component called Checkout.razor with the following page route directive.
@page "/checkout"
Add a using directive for Stripe.Checkout and inject an instance of IJSRuntime. This will be used later to invoke the javascript method you wrote earlier.
@page "/checkout"
@using Stripe.Checkout
@inject IJSRuntime jsRuntime
You can do whatever you want with the frontend, but this tutorial will have three simple buttons to represent three different products.
<button class="btn btn-primary mx-3" @onclick="@(e => CheckoutHandler("product_1_priceId"))">Buy Item1</button>
<button class="btn btn-primary mx-3" @onclick="@(e => CheckoutHandler("product_2_priceId"))">Buy Item2</button>
<button class="btn btn-primary mx-3" @onclick="@(e => CheckoutHandler("product_3_priceId"))">Buy Item3</button>
Notice, there are three different price ID's that are passed to some event callback handler, CheckoutHandler(), based on which button is clicked. These should correspond to the ID's of the price you configured for your products using the Stripe dashboard.
The CheckoutHandler() itself is very simple. It should use Stripe.net to generate a checkout session, and then use JSInterop to pass the session's ID to the redirectToCheckout JavaScript function you wrote earlier.
private async Task CheckoutHandler(string priceId)
{
    string sessionId = await CreateCheckoutSessionAsync(priceId);
    await jsRuntime.InvokeVoidAsync("redirectToCheckout", sessionId);
}
As you can see, the sessionId variable is returned from a helper method called CreateCheckoutSessionAsync(). To invoke the JS function, use the instance of IJSRuntime you injected earlier. Since this method does not return a value, we are using the InvokeVoidAsync() method. The first argument corresponds to the name of the JS function, and the subsequent arguments correspond to any input parameters the JS function expects, in this case one variable representing the session ID.
Let's configure the CreateCheckoutSessionAsync() method, which is basically taken straight from Stripe's API documentation. It takes a Price ID (and optionally, a customer ID) and returns a Session ID.
public static async Task<string> CreateCheckoutSessionAsync(string priceId, string customerId = null)
{
    var options = new SessionCreateOptions
    {
        Customer = customerId,
        PaymentMethodTypes = new List<string>
            {
                "card",
            },
        LineItems = new List<SessionLineItemOptions>
            {
                new SessionLineItemOptions
                {
                    Price = priceId,
                    Quantity = 1
                },
            },
        Mode = "subscription",
        SuccessUrl = $"https://localhost:5001/success?session_id={{CHECKOUT_SESSION_ID}}",
        CancelUrl = $"https://localhost:5001/checkout",
    };

    return (await new SessionService().CreateAsync(options)).Id;
}
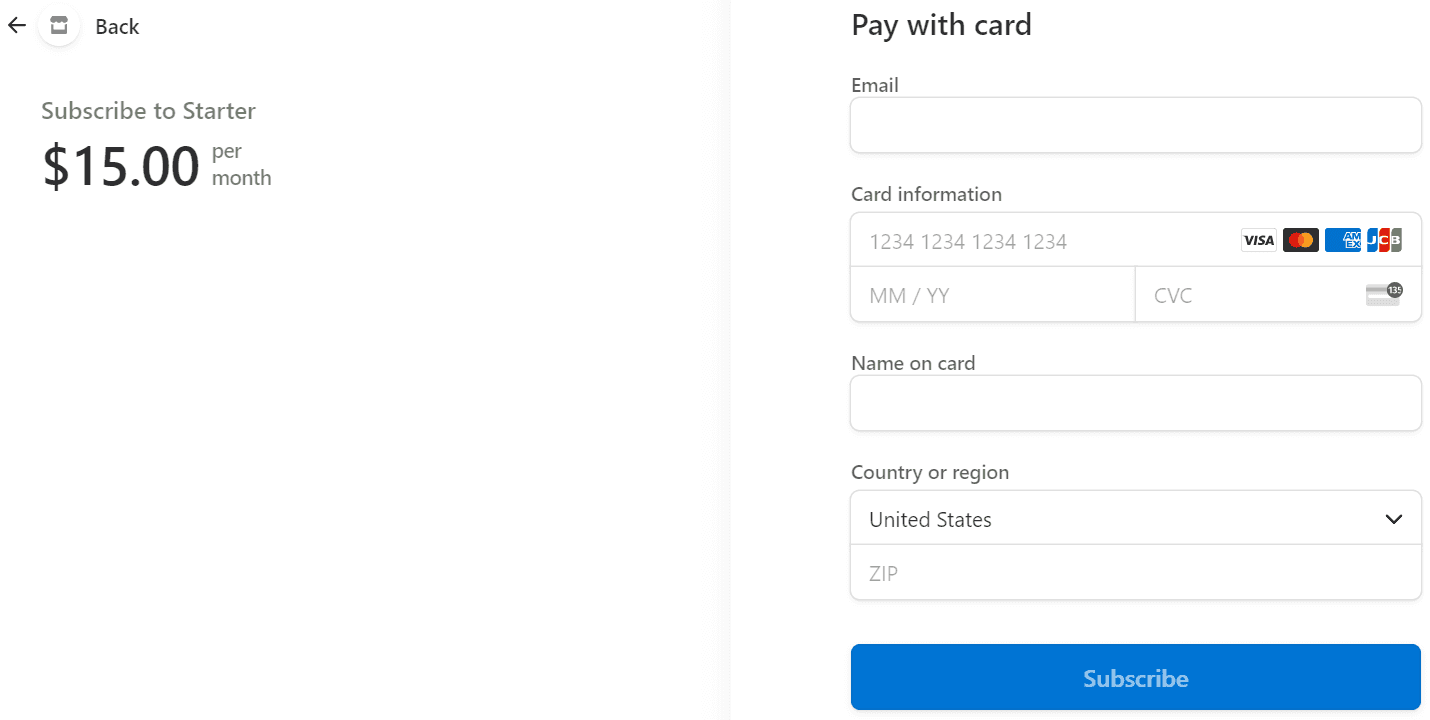
If the user clicks the back button, they will return to the page described by the CancelUrl property. When a purchase is complete, they will be directed to the URL passed as SuccessUrl
Source code for this project (with error handling) is available on GitHub.
The Bottom Line
In this tutorial, you learned how to securely enable purchases on your Blazor site using Stripe to collect credit card information. You can use this technique to easily sell one-time physical or digital products. Take it a step further by adding a controller to listen to Stripe webhook events and integrate with a users table datastore to create a subscription-based paywall or provision access to exclusive digital content.
Don't stop learning!
There is so much to discover about C#. That's why I am making my favorite tips and tricks available for free. Enter your email address below to become a better .NET developer.
Did you know?

Our beautiful, multi-column C# reference guides contain more than 150 tips and examples to make it even easier to write better code.
Get your cheat sheets